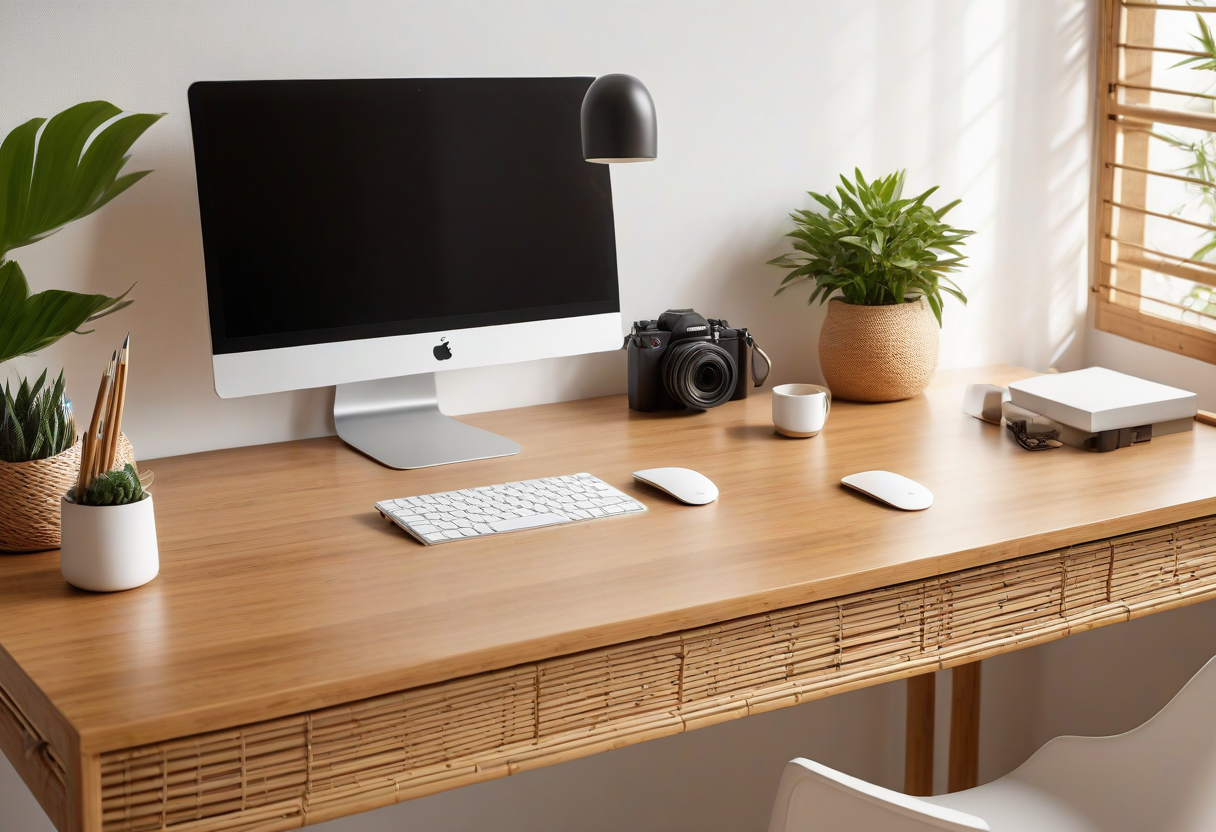
How to Set Up a Minimalist Desk Without Breaking the Bank
I've been down the rabbit hole. You know the one: you search for "minimalist desk setup" on Pinterest and suddenly you're looking at a $600 monitor arm and a desk that costs more than your laptop. It's honestly kind of ridiculous.
Here's the thing — I've built three different desk setups over the last two years, and the one I'm actually happiest with cost me under $200. Not because I got lucky with deals, but because I figured out what actually matters and what's just noise.
This isn't one of those "buy this curated list of 47 products" posts. It's more like: here's what I learned, here's what I'd spend money on, and here's what I'd skip entirely.
Start With What You Already Have
Seriously. Before you buy anything, take a photo of your current desk and look at it for a minute. Chances are, the problem isn't that you don't have enough stuff — it's that the stuff you have is cluttered or poorly arranged.
I cleared everything off my desk except my laptop, a coffee mug, and one small plant. Just doing that made me realize I didn't actually need most of the accessories I thought I wanted. Give it a week. If you genuinely miss something, you can buy it then.
The Three Things Actually Worth Spending On
After trying a bunch of different setups, here's my shortlist of things that make a real difference:
1. A Good Monitor Arm
This is the single best upgrade you can make for under $30. A basic gas-spring arm frees up desk space, fixes your posture, and instantly makes any desk look cleaner. I use the VIVO single monitor arm from our Budget Desk scheme, and it's been solid for over a year. The key is getting one with a built-in cable channel — that's the thing that makes the biggest visual difference.
2. A Felt Desk Pad
I didn't get the hype until I actually tried one. A large felt desk pad (roughly 30x14 inches) does three things: protects your desk surface, gives your wrists a softer place to rest, and ties your whole desk together visually. It's basically the area rug of desk setups. You can find decent ones for $15–$20.
3. Proper Cable Management
I'll be honest — I ignored this for months and it showed. A $9 kit with velcro straps, adhesive clips, and a small under-desk tray completely transformed how my desk looks. I wrote a whole guide on desk cable management if you want the step-by-step, but the short version is: bundle everything together, hide the power strip under the desk, and route cables along the legs. That's it.
Quick tip: Before buying any cable management product, check if your monitor or desk already has cable routing built in. A lot of people buy extra cable trays when their desk already has one built into the frame. I definitely made that mistake.
What to Skip (Seriously, Save Your Money)
I've wasted money on enough desk accessories that I can tell you what's not worth it:
- RGB light strips under the desk — looks cool for exactly one night, then you realize it's distracting and never turn it on again
- Premium cable management boxes — a $9 tray does the exact same thing as a $50 one
- Fancy desk lamps with smart features — a simple warm LED bulb in an adjustable lamp is better and cheaper
- Headphone stands that cost more than $15 — your headphones sit on your desk, not a pedestal
Oh, and don't get pressured into buying a standing desk right away. I've been using a basic 48-inch desk for two years, and I only started thinking about upgrading recently. If your budget is tight, a regular desk with a monitor arm is perfectly fine.
The Actual Setup I'd Build for Under $150
Here's exactly what I'd buy today if I were starting from scratch:
- A basic 47-inch desk ($80–$100 on Amazon or secondhand)
- A VIVO single monitor arm ($29)
- A large felt desk pad ($15)
- A cable management kit with under-desk tray ($9)
- A small desk plant for life ($12)
That's five items. Total: around $150. Add your laptop and a basic mouse and keyboard, and you've got a desk that looks intentional, feels good to work at, and didn't force you to eat instant noodles for a month.
If you want to see this kind of setup visualized, check out our Budget Desk Upgrade scheme — it's built around the same philosophy, with shoppable links for every item.
A Few Final Thoughts
Minimalism isn't about how little you own — it's about whether everything you own earns its place. A desk that's covered in "productivity gadgets" is just a cluttered desk with extra steps. Start small, add things one at a time, and be honest with yourself about whether something actually improves your setup or just adds noise.
And if you're curious about other styles, take a look at our Minimalist Designer Desk scheme — it's pricier, but if you ever want to upgrade, that's the direction I'd go.
Explore more desk setups: Budget Desk Upgrade
Explore more desk setups: Budget Desk Upgrade